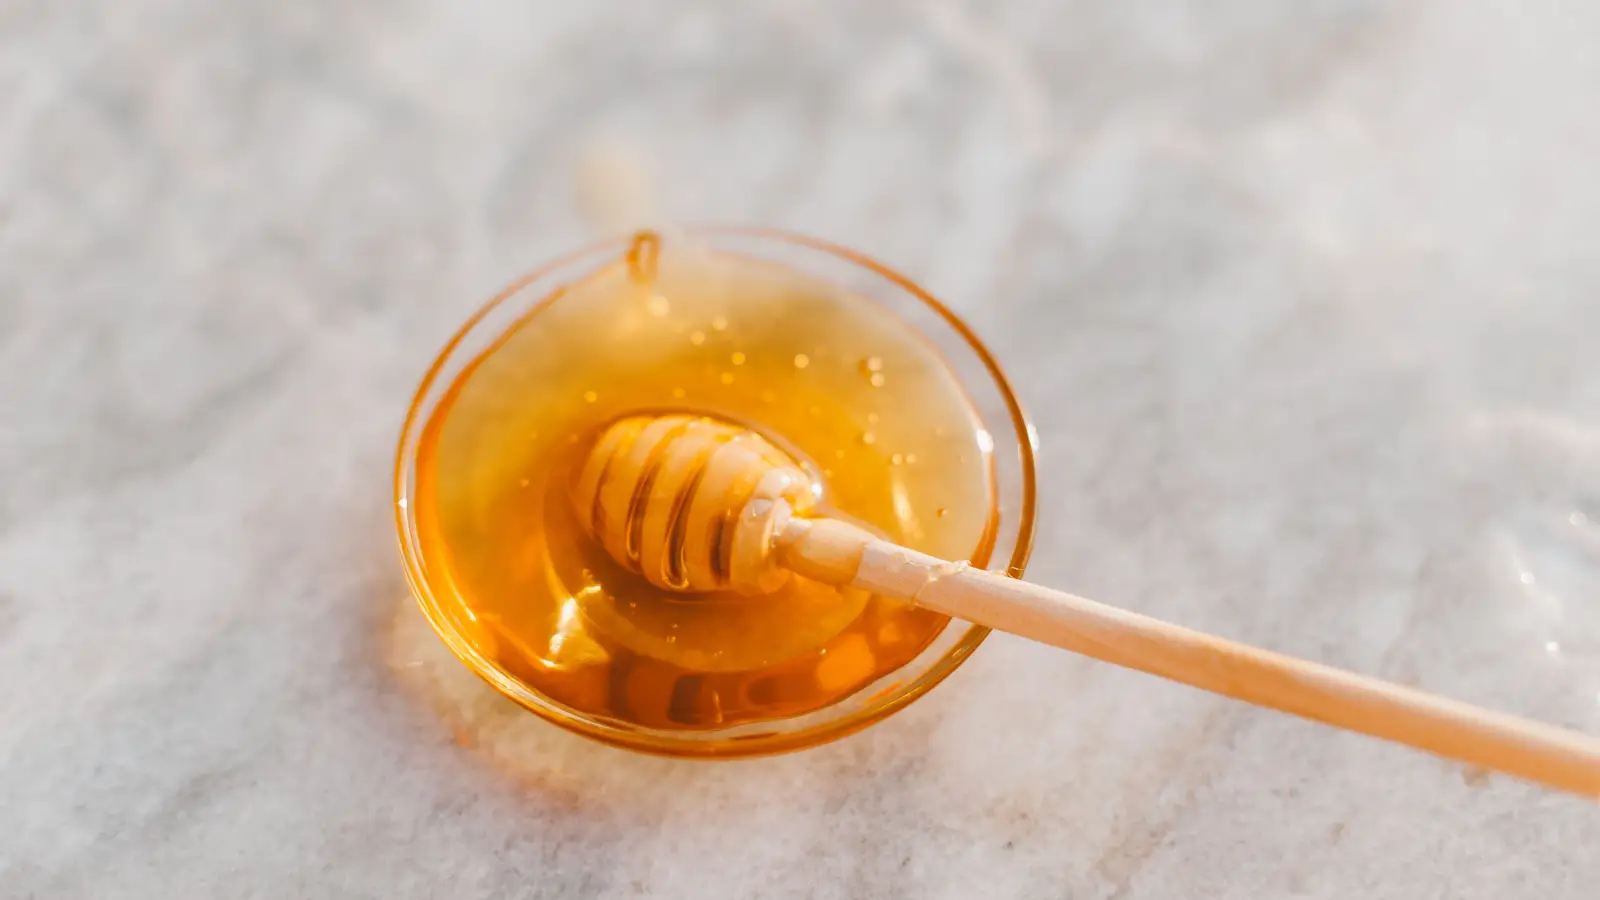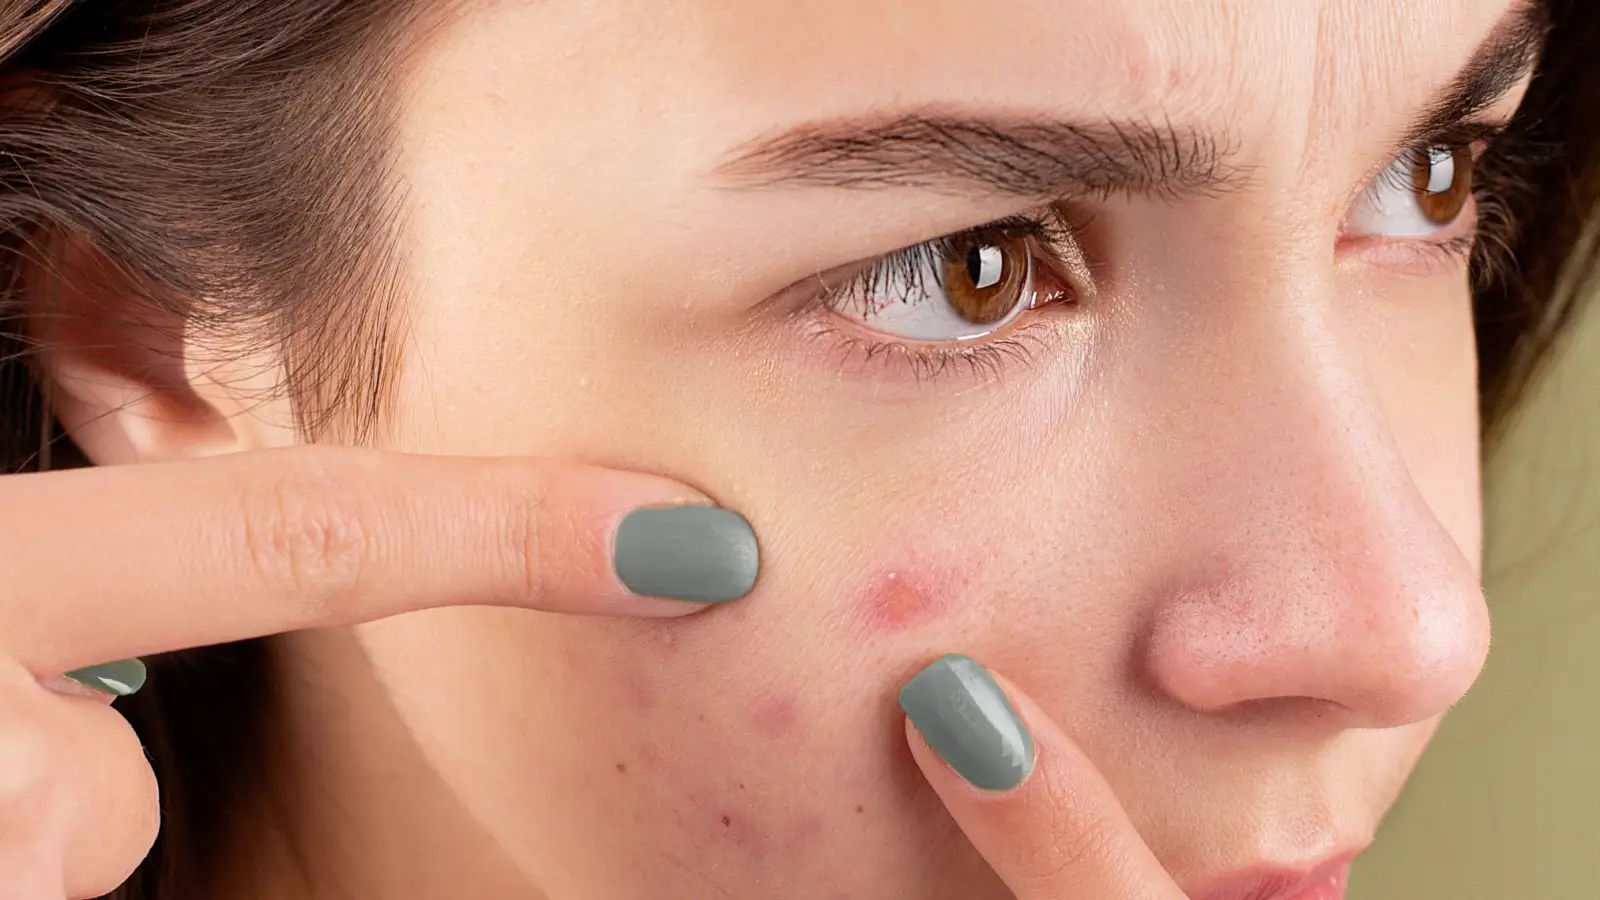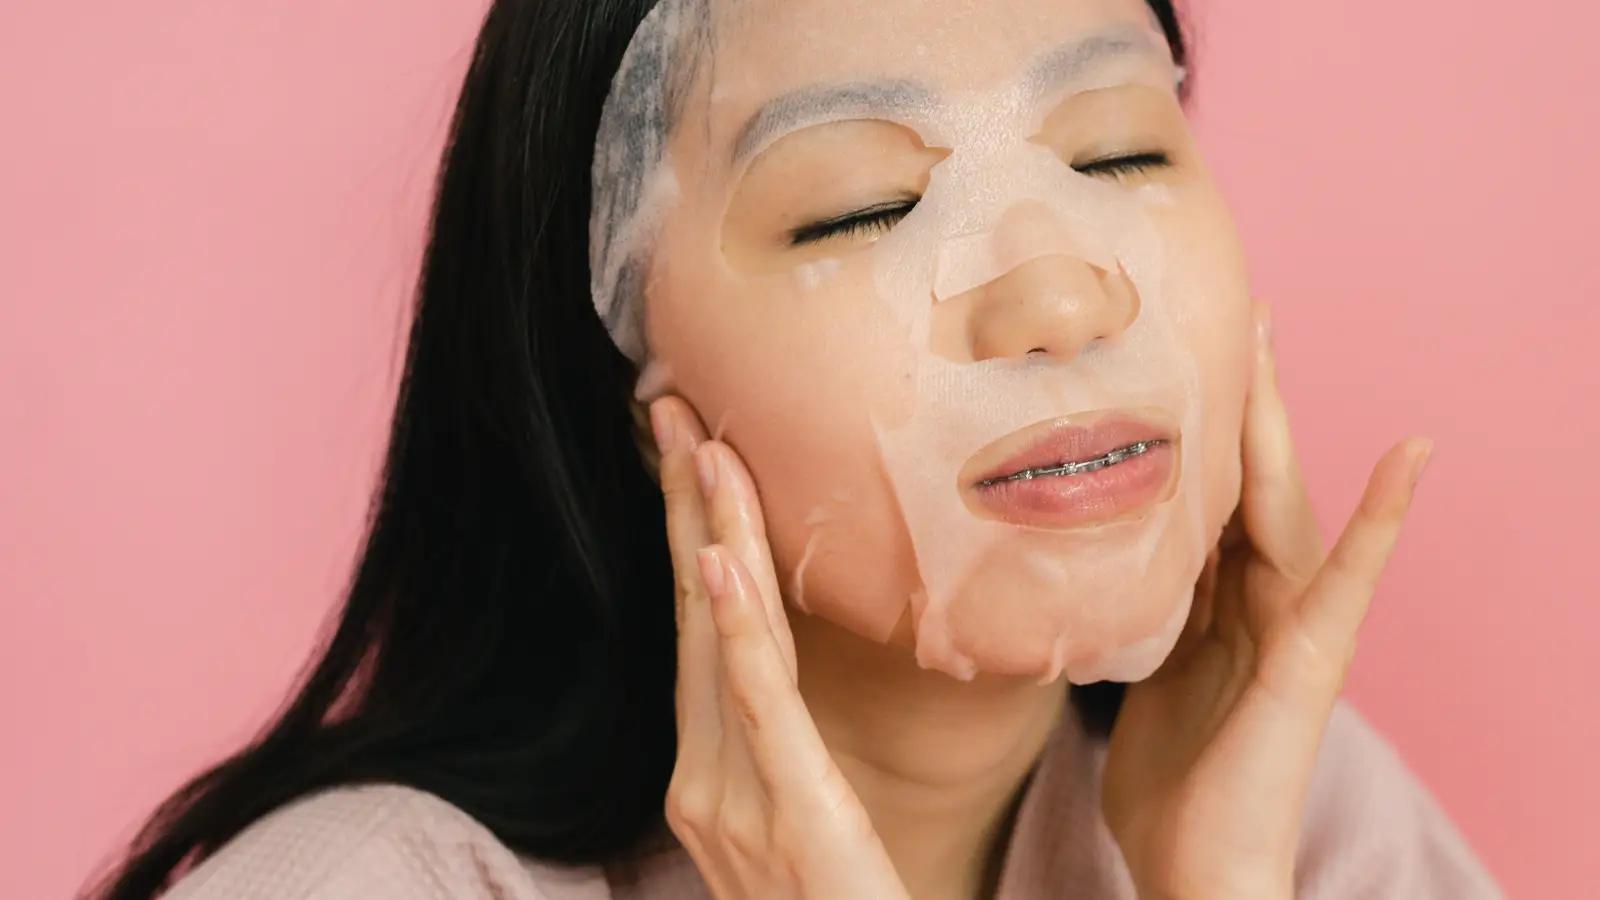
Your skin didn’t lose its glow overnight, and a random honey mask won’t bring it back by chance either. A honey mask only becomes a trusted part of your routine when you match it to your skin type — otherwise you are just hoping for the best. When you pick the right honey and the right companions for it, your skin finally gets what it has been missing.
Get It Right in Four Steps: Your Skin‑Type Honey Mask Plan
- Figure out your skin type — oily, dry, combination, or sensitive — right after a clean face.
- Choose a raw honey variety that supports your type, not one that fights it (manuka for acne‑prone skin, clover for dry skin, and so on).
- Mix in ingredients that solve your skin’s biggest complaint, using the guide below.
- Apply, wait the correct time for your skin, and rinse softly.
How to Build a Honey Mask That Truly Understands Your Skin
Step 1: Know Your Skin Type Before You Open the Honey Jar
Wash with a mild cleanser, pat dry, and wait an hour with nothing on your face. Then read what your skin is telling you.
- A slick shine all over, especially across the forehead and nose, points to oily skin.
- Tightness, flaky patches, and no trace of oil mean dry skin.
- A shiny T‑zone with normal or dry cheeks is the classic combination pattern.
- Skin that flushes easily, stings with new products, or feels itchy needs to be treated as sensitive.
Step 2: Pick a Honey That Works Alongside Your Skin, Not Against It
Every honey carries a fingerprint from the flowers the bees visited, and that fingerprint changes how it behaves on skin.
- Oily or breakout‑prone skin: Manuka honey (look for a meaningful MGO rating) or robust buckwheat honey bring strong antibacterial support. If your skin is oily but calm, a gentle raw wildflower honey is often enough.
- Dry or thirsty skin: Clover and orange blossom honeys are humectant and kind — they draw moisture in without irritation.
- Combination skin: Acacia honey stays liquid and won’t clog pores, giving lightweight moisture that doesn’t tip over into greasiness on oily zones.
- Sensitive skin: Start with acacia or a diluted mild manuka (a few drops of water or chamomile tea), and always patch‑test behind the ear first.
Step 3: Add Ingredients That Support Your Skin’s Goals
This is where a mask turns from a general treat into a precision tool.
- Oily skin: One teaspoon honey, half a teaspoon bentonite clay, one drop of tea tree oil. If your skin feels tight after washing despite the oil, swap clay for a pinch of finely ground oatmeal and a few drops of aloe vera gel.
- Dry skin: One teaspoon honey, a spoonful of plain full‑fat yogurt, a quarter of a mashed avocado. Very dry patches can use an extra half teaspoon of jojoba oil.
- Combination skin: Make two small mixes — a clay‑and‑honey paste for the T‑zone, a honey‑yogurt blend for the cheeks — and apply them where they’re needed.
- Sensitive skin: Honey alone, or honey with a teaspoon of colloidal oatmeal or cooled chamomile tea. Steer clear of essential oils and strong exfoliants entirely.
Step 4: Apply and Let the Mask Do Its Job — Not Overstay
Spread the mixture on clean, damp skin, avoiding the eye area.
- Oily skin can usually handle 15–20 minutes. If the clay pulls uncomfortably tight earlier, rinse right away.
- Dry skin does best with 10–15 minutes; stretching it longer can start pulling moisture back out.
- Sensitive skin should begin with 5–10 minutes and watch for any sign of protest.
- Combination skin with spot treatments: leave clay areas up to 15 minutes, moisturizing areas about 12.
Step 5: Rinse and Treat Your Skin with a Gentle Finish
Use lukewarm water and small circular motions so the honey itself works as a very mild exfoliant. Make sure no clay residue is left behind. Pat dry with a clean towel — never rub — and follow immediately with a light, non‑comedogenic moisturizer.
How to Tell Your Skin Is Thriving (Not Struggling)
Right after applying: no stinging or sudden redness. A cool sensation is fine. During wear: gentle tightening is normal; a sharp pull means rinse now. Immediately after rinsing: skin feels soft, clean, and quiet, not stripped. The next morning: no fresh breakouts, no extra redness, and a smoother texture you can actually feel.
When a Honey Mask Goes Sideways — and the Quickest Fix
Skin stings or flushes right away
Rinse with cool water at once. The culprit may be an additive (tea tree oil hits hard) or sensitivity to pollen in raw honey. Next time, use plain honey alone and always patch‑test.
New breakouts show up the morning after
You might be purging from an active ingredient or dealing with a pore‑clogging oil. Switch to manuka honey with bentonite clay and skip any oil‑based mix‑ins for a few masks.
Skin feels drier than when you started
Clay or overly astringent add‑ins can strip moisture. Dial back the clay next time and use yogurt or aloe vera to restore balance.
No visible change even after a few tries
Check that your honey is truly raw and unheated. Try leaving it on five extra minutes and increase to 2–3 times a week if your skin allows. If results still don’t come, test a different honey variety or a moisture‑binder like glycerin in your next mix.
Common Questions About Using Honey on Your Face
Can I use regular store-bought honey instead of raw?
Heated, filtered honey has lost much of the natural enzyme and antibacterial power that makes raw honey worth using on skin. Organic, unfiltered honey is a closer stand‑in if raw isn’t available, but expect gentler results.
How often should I apply a honey mask?
Oily skin 2–3 times a week; dry and combination skin 1–2 times; sensitive skin once a week or every other week, always after a clear patch test.
Is it safe to leave a honey mask on overnight?
It’s not a safe bet. Honey’s sticky texture can trap dust and debris against your skin for hours, raising the risk of clogged pores. Fifteen to twenty minutes gives you the benefits without the mess.
Does manuka honey expire? Can I still use it on my face?
Honey itself doesn’t spoil, but the active enzymes do fade over time. For skincare, aim to use it within a year of opening and store it in a cool, dark spot.
Once your skin meets the honey mask that was really meant for it, the difference in brightness and calm is hard to ignore — and the next helpful step is building a simple, skin‑type‑friendly cleanse‑and‑moisturize routine that keeps that comfort going.